In the last decades, sedentary lifestyle has been taking a toll on our health. Let’s face it: we spend a good chunk of our lives seated – whether at a desk at work, at home watching TV or even on our car. The fact is that this constant sitting is unnatural for us.
In a previous article we have already covered the consequences of endless sitting on posture and back. We spoke about the damages it can do to our health, e.g. that a sedentary lifestyle is linked to the increase of heart diseases, diabetes and weight gain.
Today we are covering another issue: our hands and wrists. Long hours of typing on your computer can actually damage them.
The good news is that it’s in your hands to change that: here are some tips and 5 exercises to build pain-free hands and wrists.

How to build pain-free hands and wrists
Besides tackling the effects of our sedentary lifestyles, the following hand and wrist exercises will also help you build a foundation of strength, endurance and mobility. This is essential to avoid injuries and improve your fitness performance. It’s important to understand that while functional wrist and hand strength provide the foundation for pain-free movement, a skillful practice also plays a vital role.
Whether you’re a bodyweight training advocate, or wish to build stronger hands and wrists for everyday lifting and to carry things, here are our top 5 recommendations. These exercises can be part of a warm-up at the gym, or as a standalone corrective exercise program.
5 exercises for pain-free hands and wrists
1. Wrist extension
- In a kneeling position, place the palms of your hands upon the knees.
- Lean forward and gently roll the fingers until the palm is on the floor.
- Spread the fingers and find a comfortable stretch.
- Gently pulse forwards and backwards 20 times, then hold the stretch for 30sec.
- Repeat.
2. Wrist flexion
- Again an exercise to be performed in a kneeling position.
- Place hands palms down on the knees.
- Lean forward and gently roll the fingers until the back of the palm is on the floor.
- Spread the fingers and find a comfortable stretch.
- Gently turn the elbow crease inwards and outwards 20 times, then turn the elbow crease out and hold the stretch for 30sec.
- Repeat.
3. Fingertip bounce
- You guessed it: in a kneeling position, lean forwards, and rest the fingertips lightly on the floor.
- Gently bounce the fingertips up and down on the floor, as you rock your body forwards and backwards to control the weight.
- Perform 20 bounces.
- Rest and repeat.
4. Forearm press
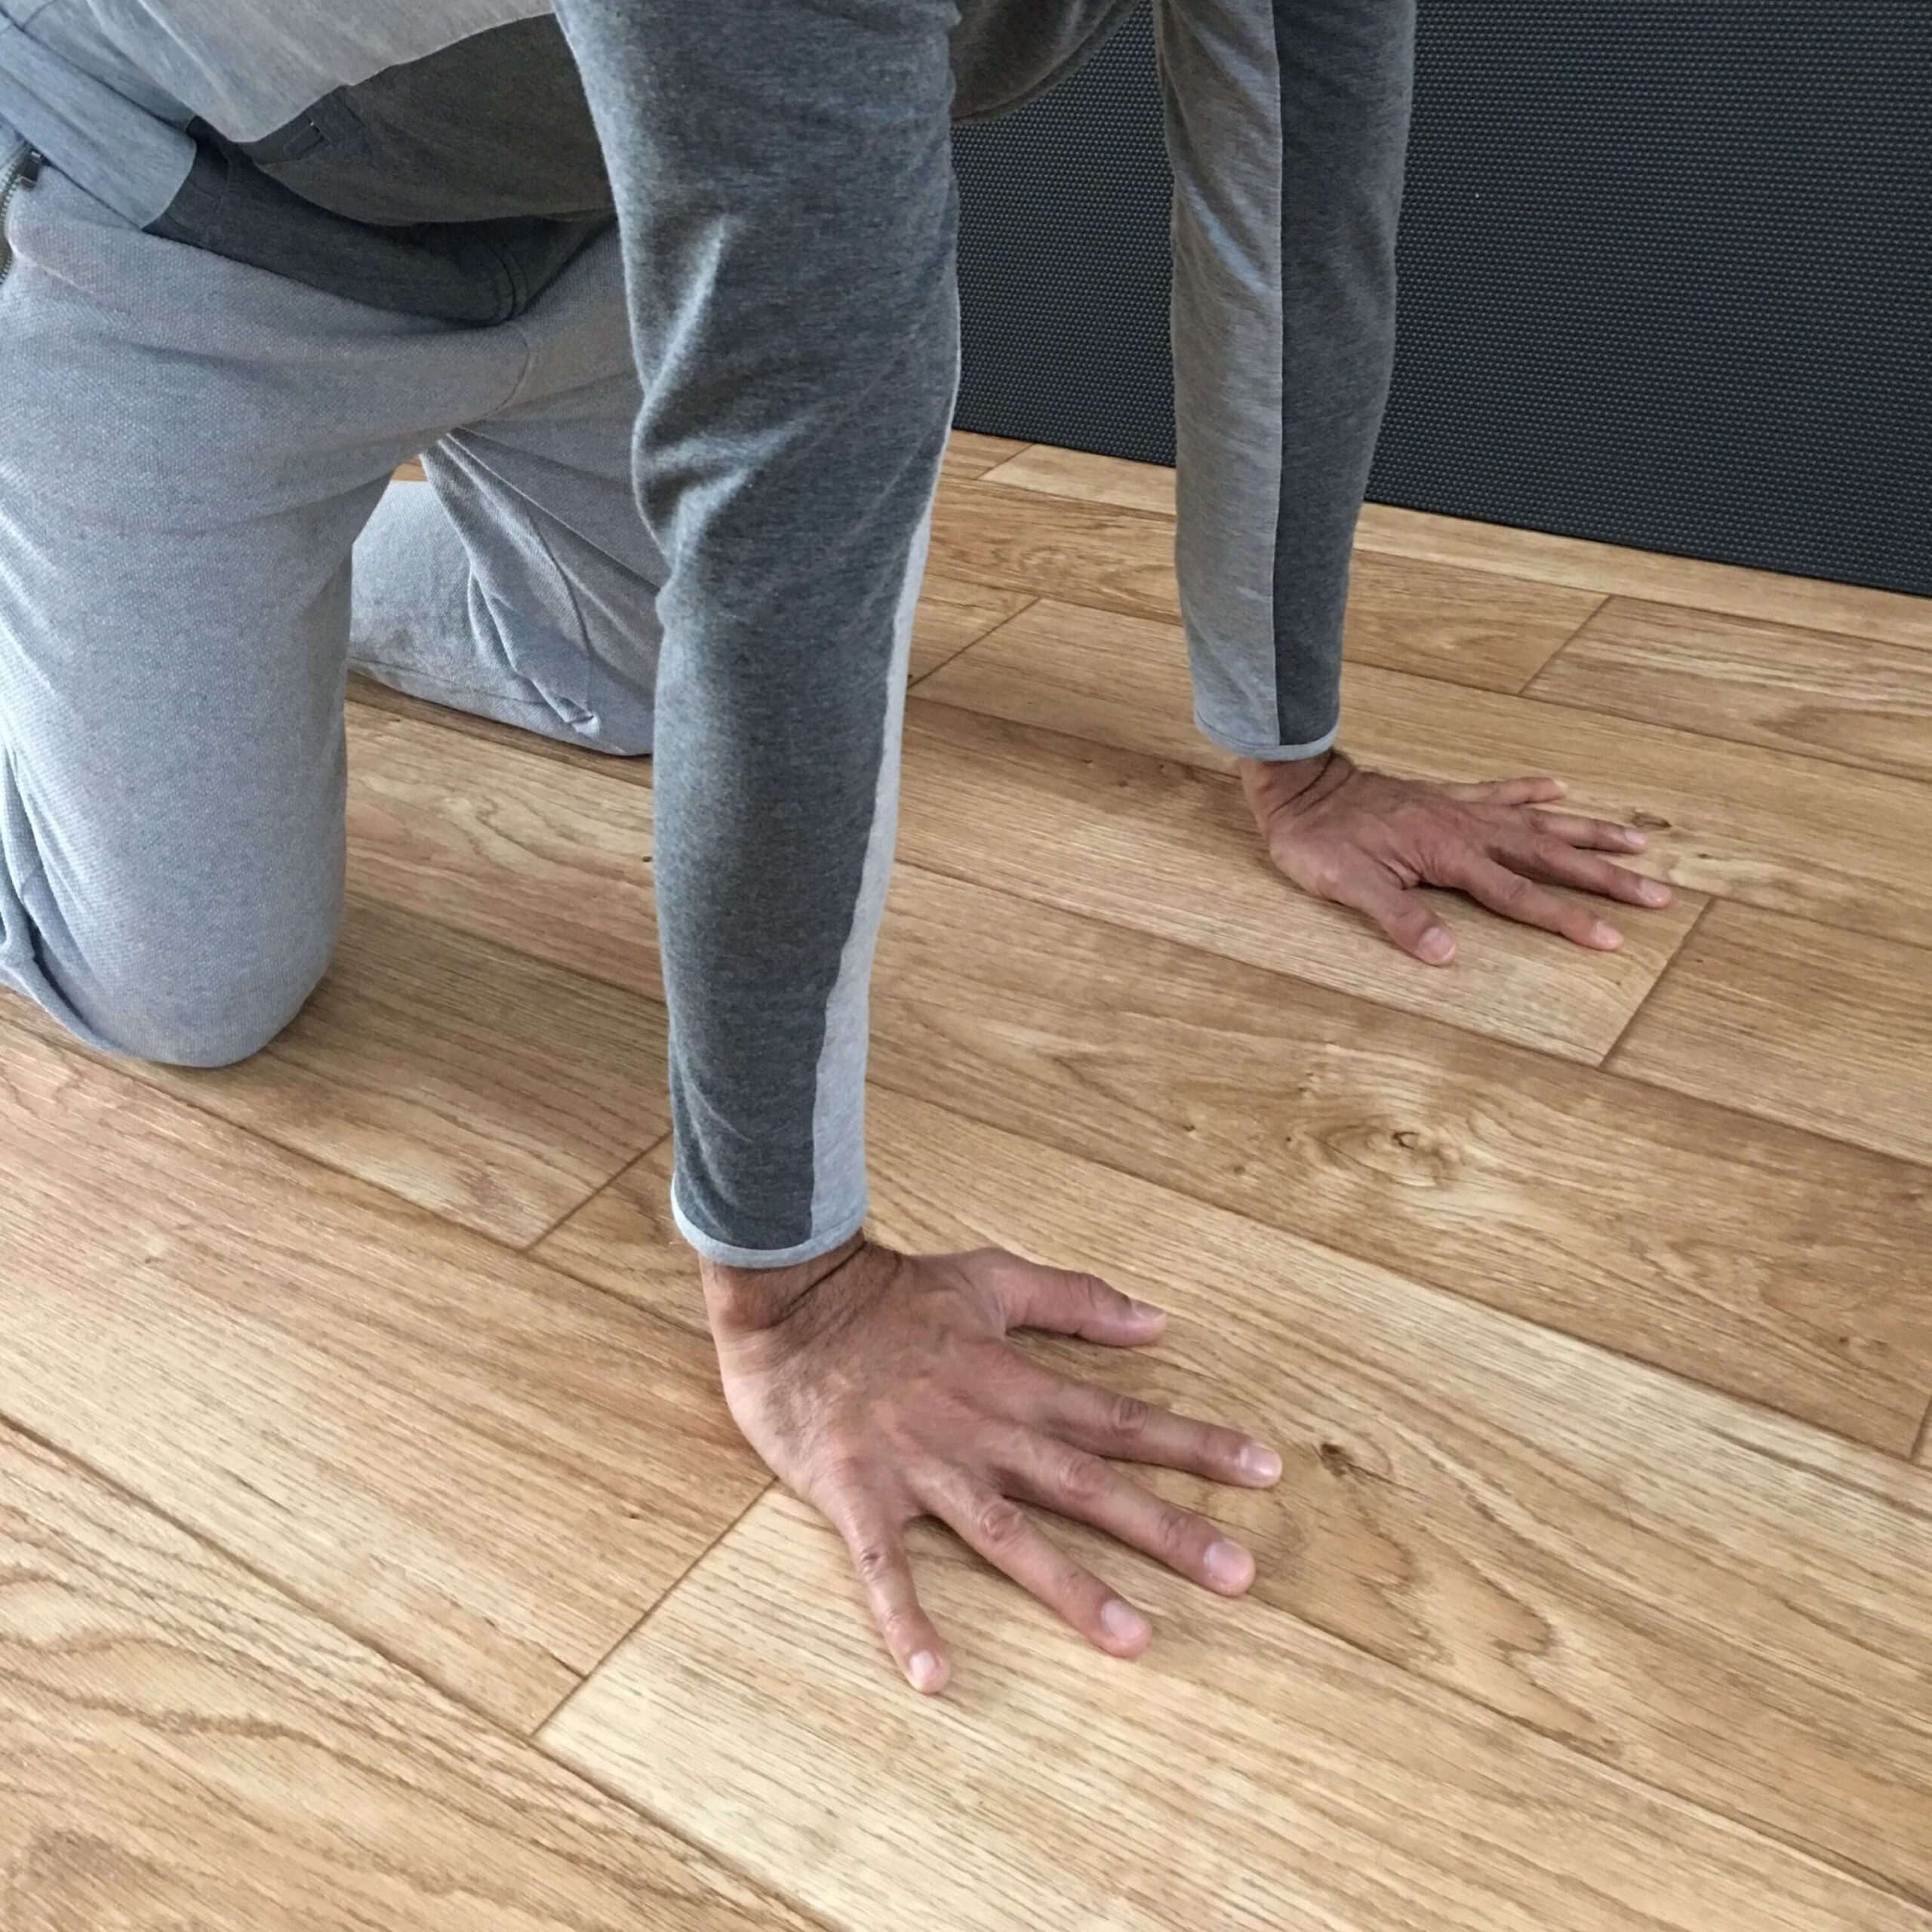
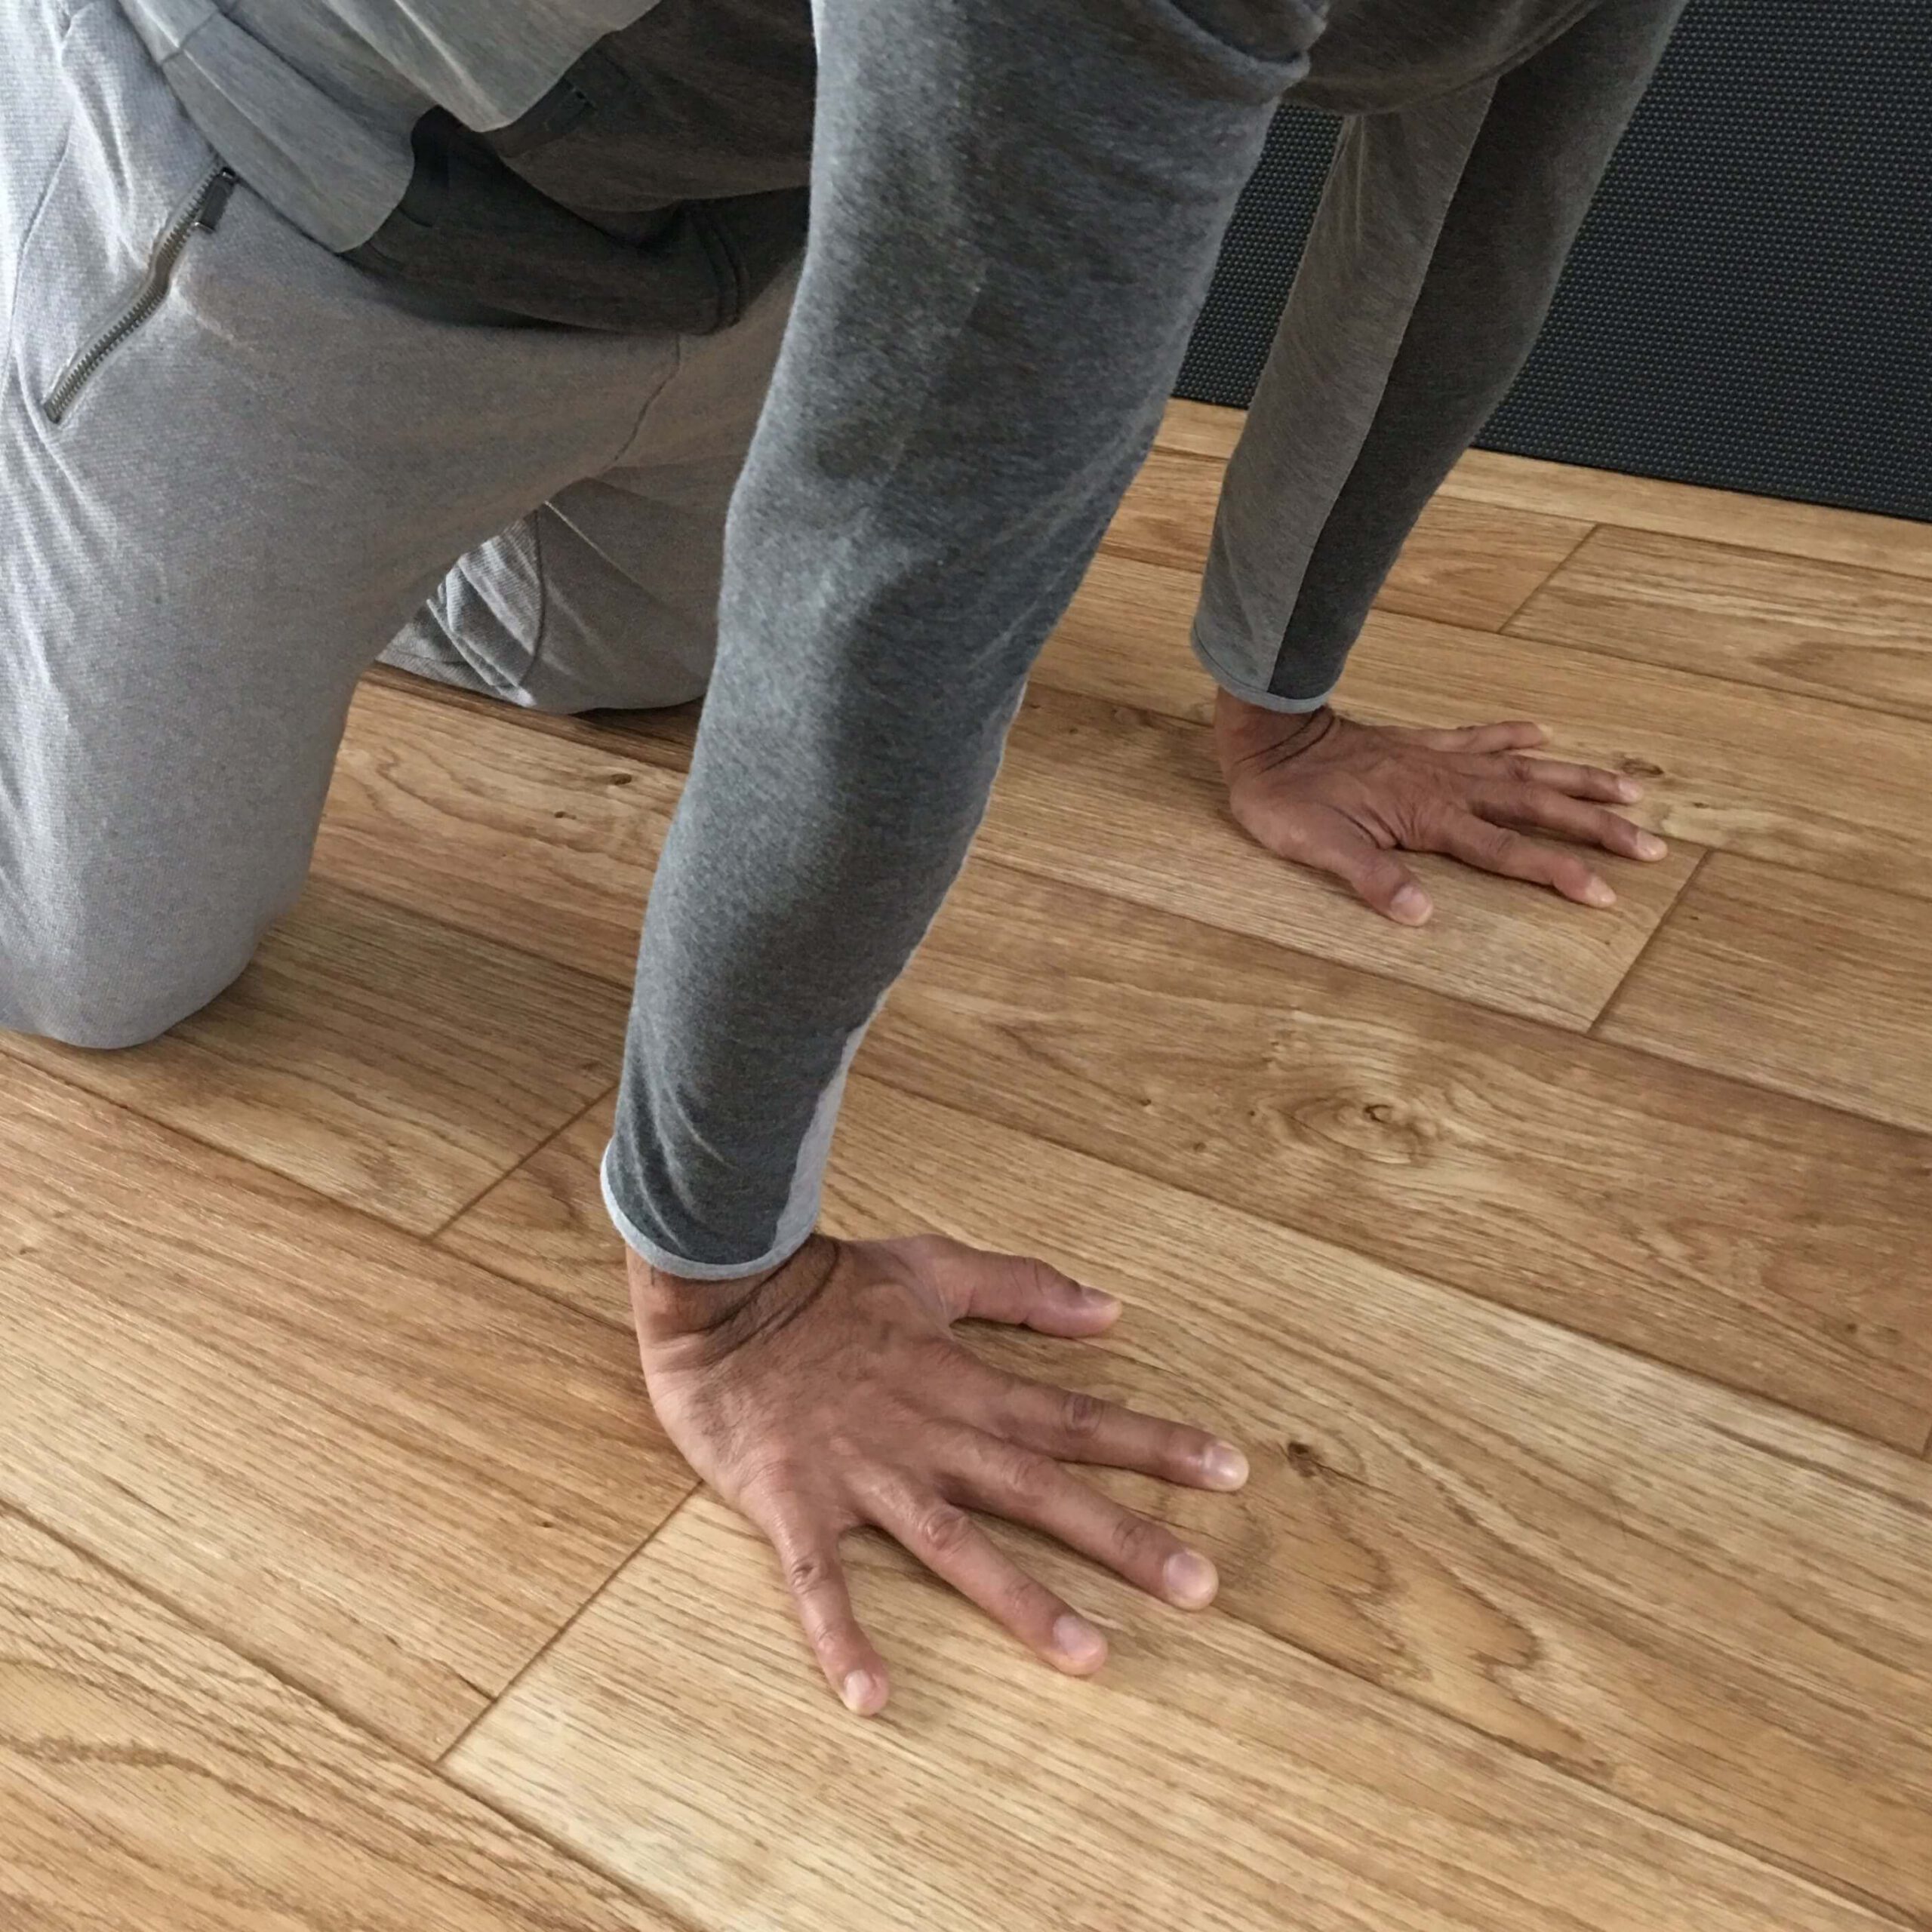
- Assume an all-fours position with the fingers facing forward.
- Spread the fingers and gently turn the elbow crease out, so it’s forward-facing.
- From this position, push the base of the fingers into the floor and raise the palm off the floor.
- Lower the palm under control and repeat 15 times.
- Aim for fatigue at the last rep; as you become stronger, you can lean further forwards onto the hands.
- As a progression, perform the exercise with the fingers facing backwards.
5. Forward rocks
- This final exercise combines the flexibility, strength and endurance gained from the above activities into a functional movement.
- From an all-fours position, spread the fingers, turn out the elbow creases, and push the fingertips and palms into the floor.
- As you maintain this position, slowly rock forwards and hold for 2sec. Return and repeat 12 times to fatigue.
- As you become stronger, you can progressively take the shoulders further forwards over the wrists/hands.
As usual, we recommend you check with your doctor if these exercises are suitable for you. If you’re good to go, start to introduce them in your workouts as a warm-up or a cool-down. It’s in your hands to change this.

